Friday, March 11, 2011

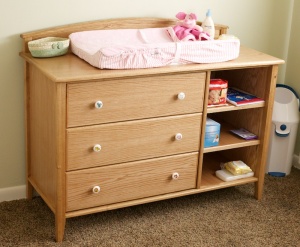
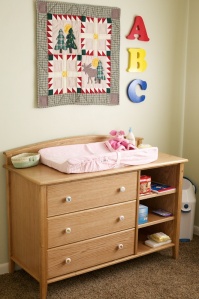
The new changing table I just completed

I’ve been busy over the winter learning furniture construction. I recently completed a new changing table for our nursery. It’s made of red oak and finished with a blonde shellec top-coated with water-based polyurethane. I was fairly pleased with how it turned out. I chose a lighter finish to keep the furniture from feeling too massive. I’ll be moving on to a convertible crib / full-sized bed design this weekend.
New changing table installed in the nursery.
I also made the letters on the wall above the changing table. I found a nice font I liked on my computer and printed out huge versions of them which I transferred to a sheet of MDF using a carbon-transfer paper. I then cut them out with a jigsaw, sanded them smooth and coated them with acrylic spray paint. I tried using liquid acrylic but the yellow and blue were far too transparent.
The photo below shows a closer look at the table with one of the hand-painted knobs that I purchased for the drawer pulls.
Closer view of table.
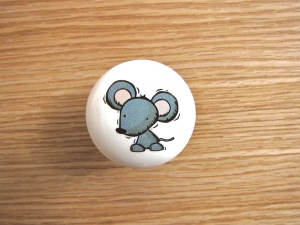
One of the wonderful animal-themed drawer pulls.
I picked up the drawer pulls from Carolina Hardware and Decor who have a great selection of decorative pulls and knobs, many surprisingly still made in the USA. I used a mouse, bunny, bull, pig, lion, and tiger for the dresser.
Refinishing my Grandmother's chairs

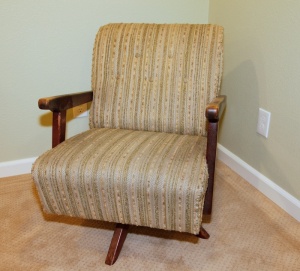
Chair #2 prior to the start of the process
I inherited two identical chairs from my grandmother’s estate when she passed away several years ago. They have been in need of a refinishing job since we obtained them and I am finally nearing completion on the work. I decided to refinish the wood myself and have a professional upholsterer work on the fabric since I had no idea where to even start on something like that.
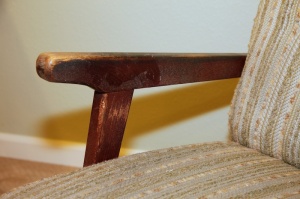
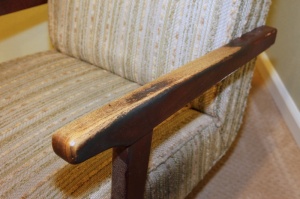
The arms were in desperate need of refinishing
The well-worn arms with years of happy use.
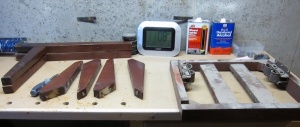
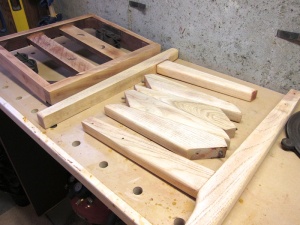
The chair was ready for disassembly. After “carefully” removing the upholstery from the back, I disassembled the chair into the components.
The disassembled pieces.
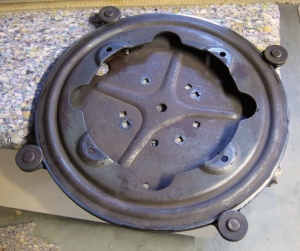
The swivel-rocker component from the chair base.
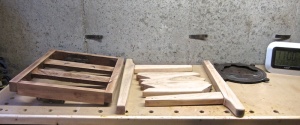
Once the components were disassembled, I deployed the random-orbit sander for some tough love.
The sanded components.
A closer view of the arms, legs, and base.
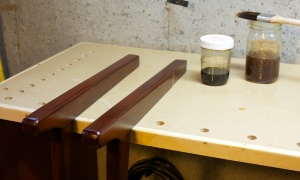
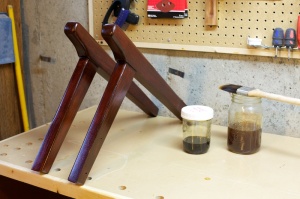
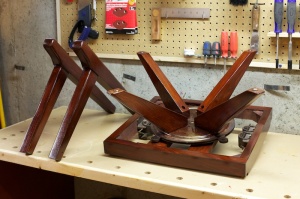
Here are some photos of the progress as it stands today. I’ve managed to strip both chairs down to the raw wood and reapply an oil-based chestnut stain to give a pleasant reddish tint to the wood. I then followed this up with a sealing coat of garnet shellac before applying a liberalglaze of mahogany stain. This step was crucial to the overall look of the arms and require several days of fine-tuning the final look. I then sealed this layer with several (probably 5-7) seal coats of garnet shellac before finishing the job with three coats of water-based polyurethane. I was able to use water-based poly over the previous coats because I allowed 3-4 days of drying time for the oil-based finishes and then used shellac, which provides a material buffer between coats.
The first seal-coat of garnet shellac is applied.
A better view of the shellacked arms.
The re-finished arms, legs, and base from the second chair.
My goal was to stay true to the original finish while bringing out the natural grain in the wood a bit more (less of an opaque glaze with this application) and keeping that deep, rich finish I’ve always loved about these chairs. I should be getting the seats back from the upholsterer in the next week or so and can’t wait to see how the fabric we picked out looks with the new finish.